THANKSGIVING INSPIRED VEGAN STUFFING AND GRAVY

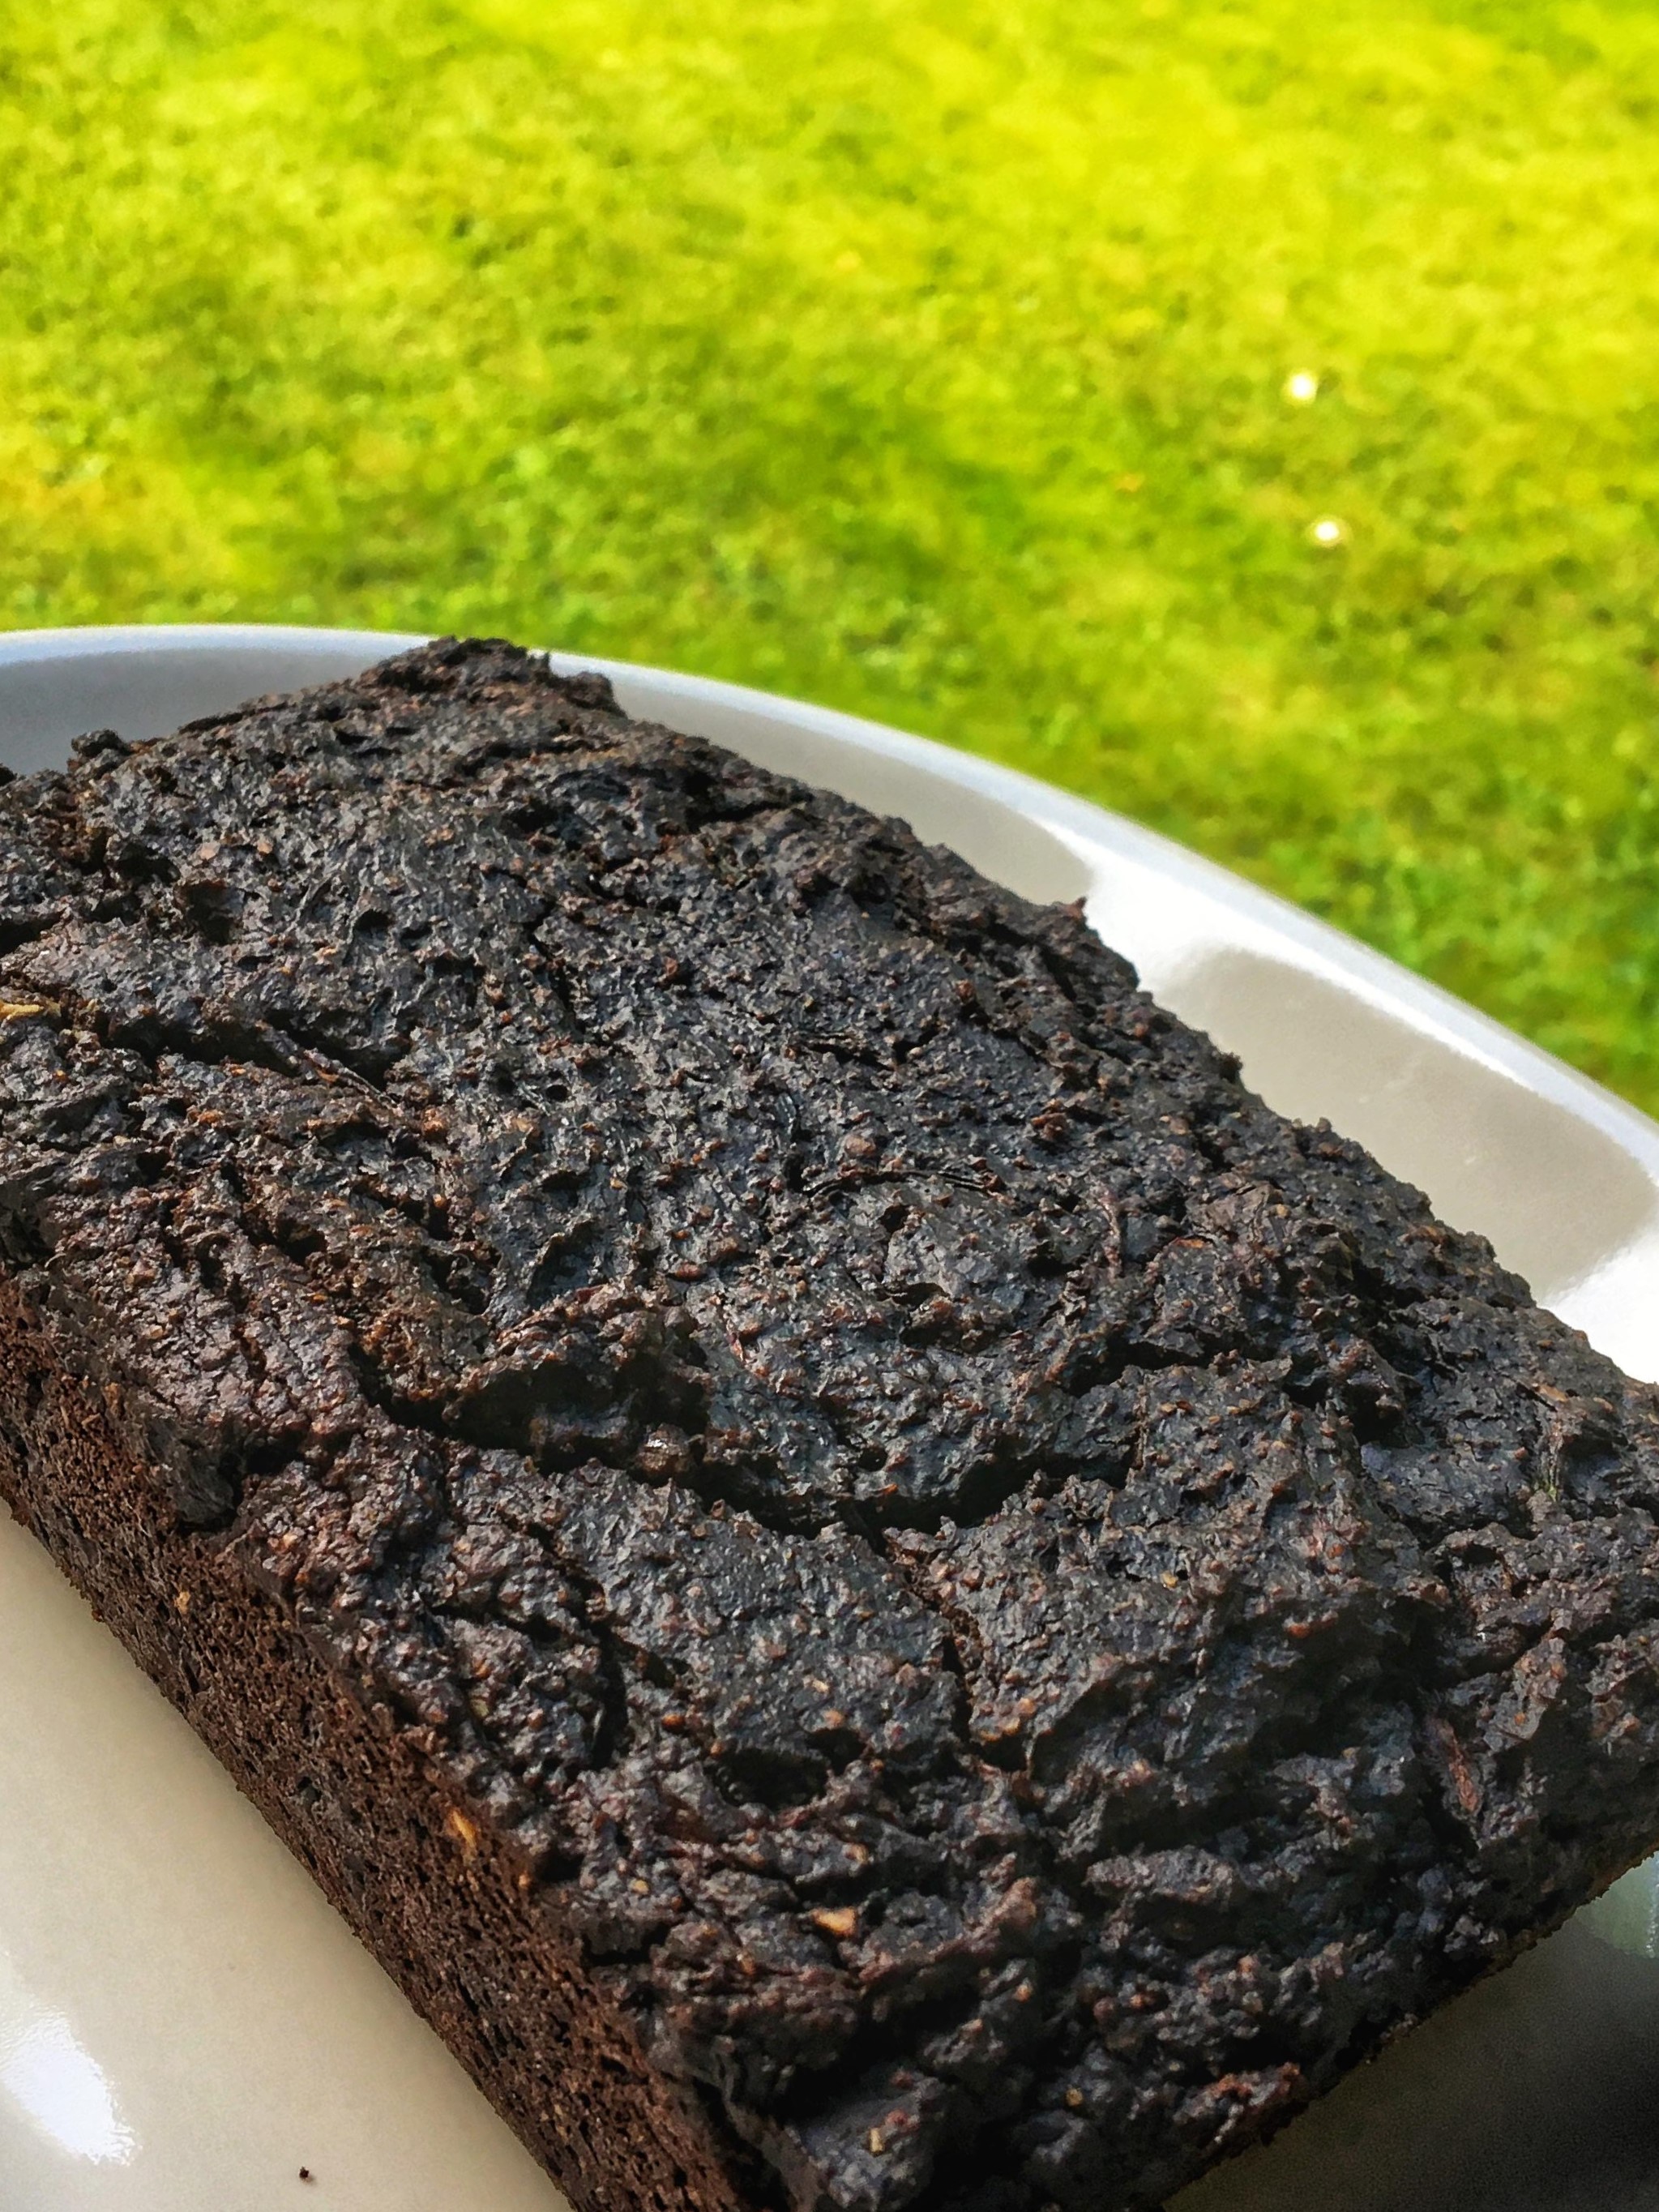
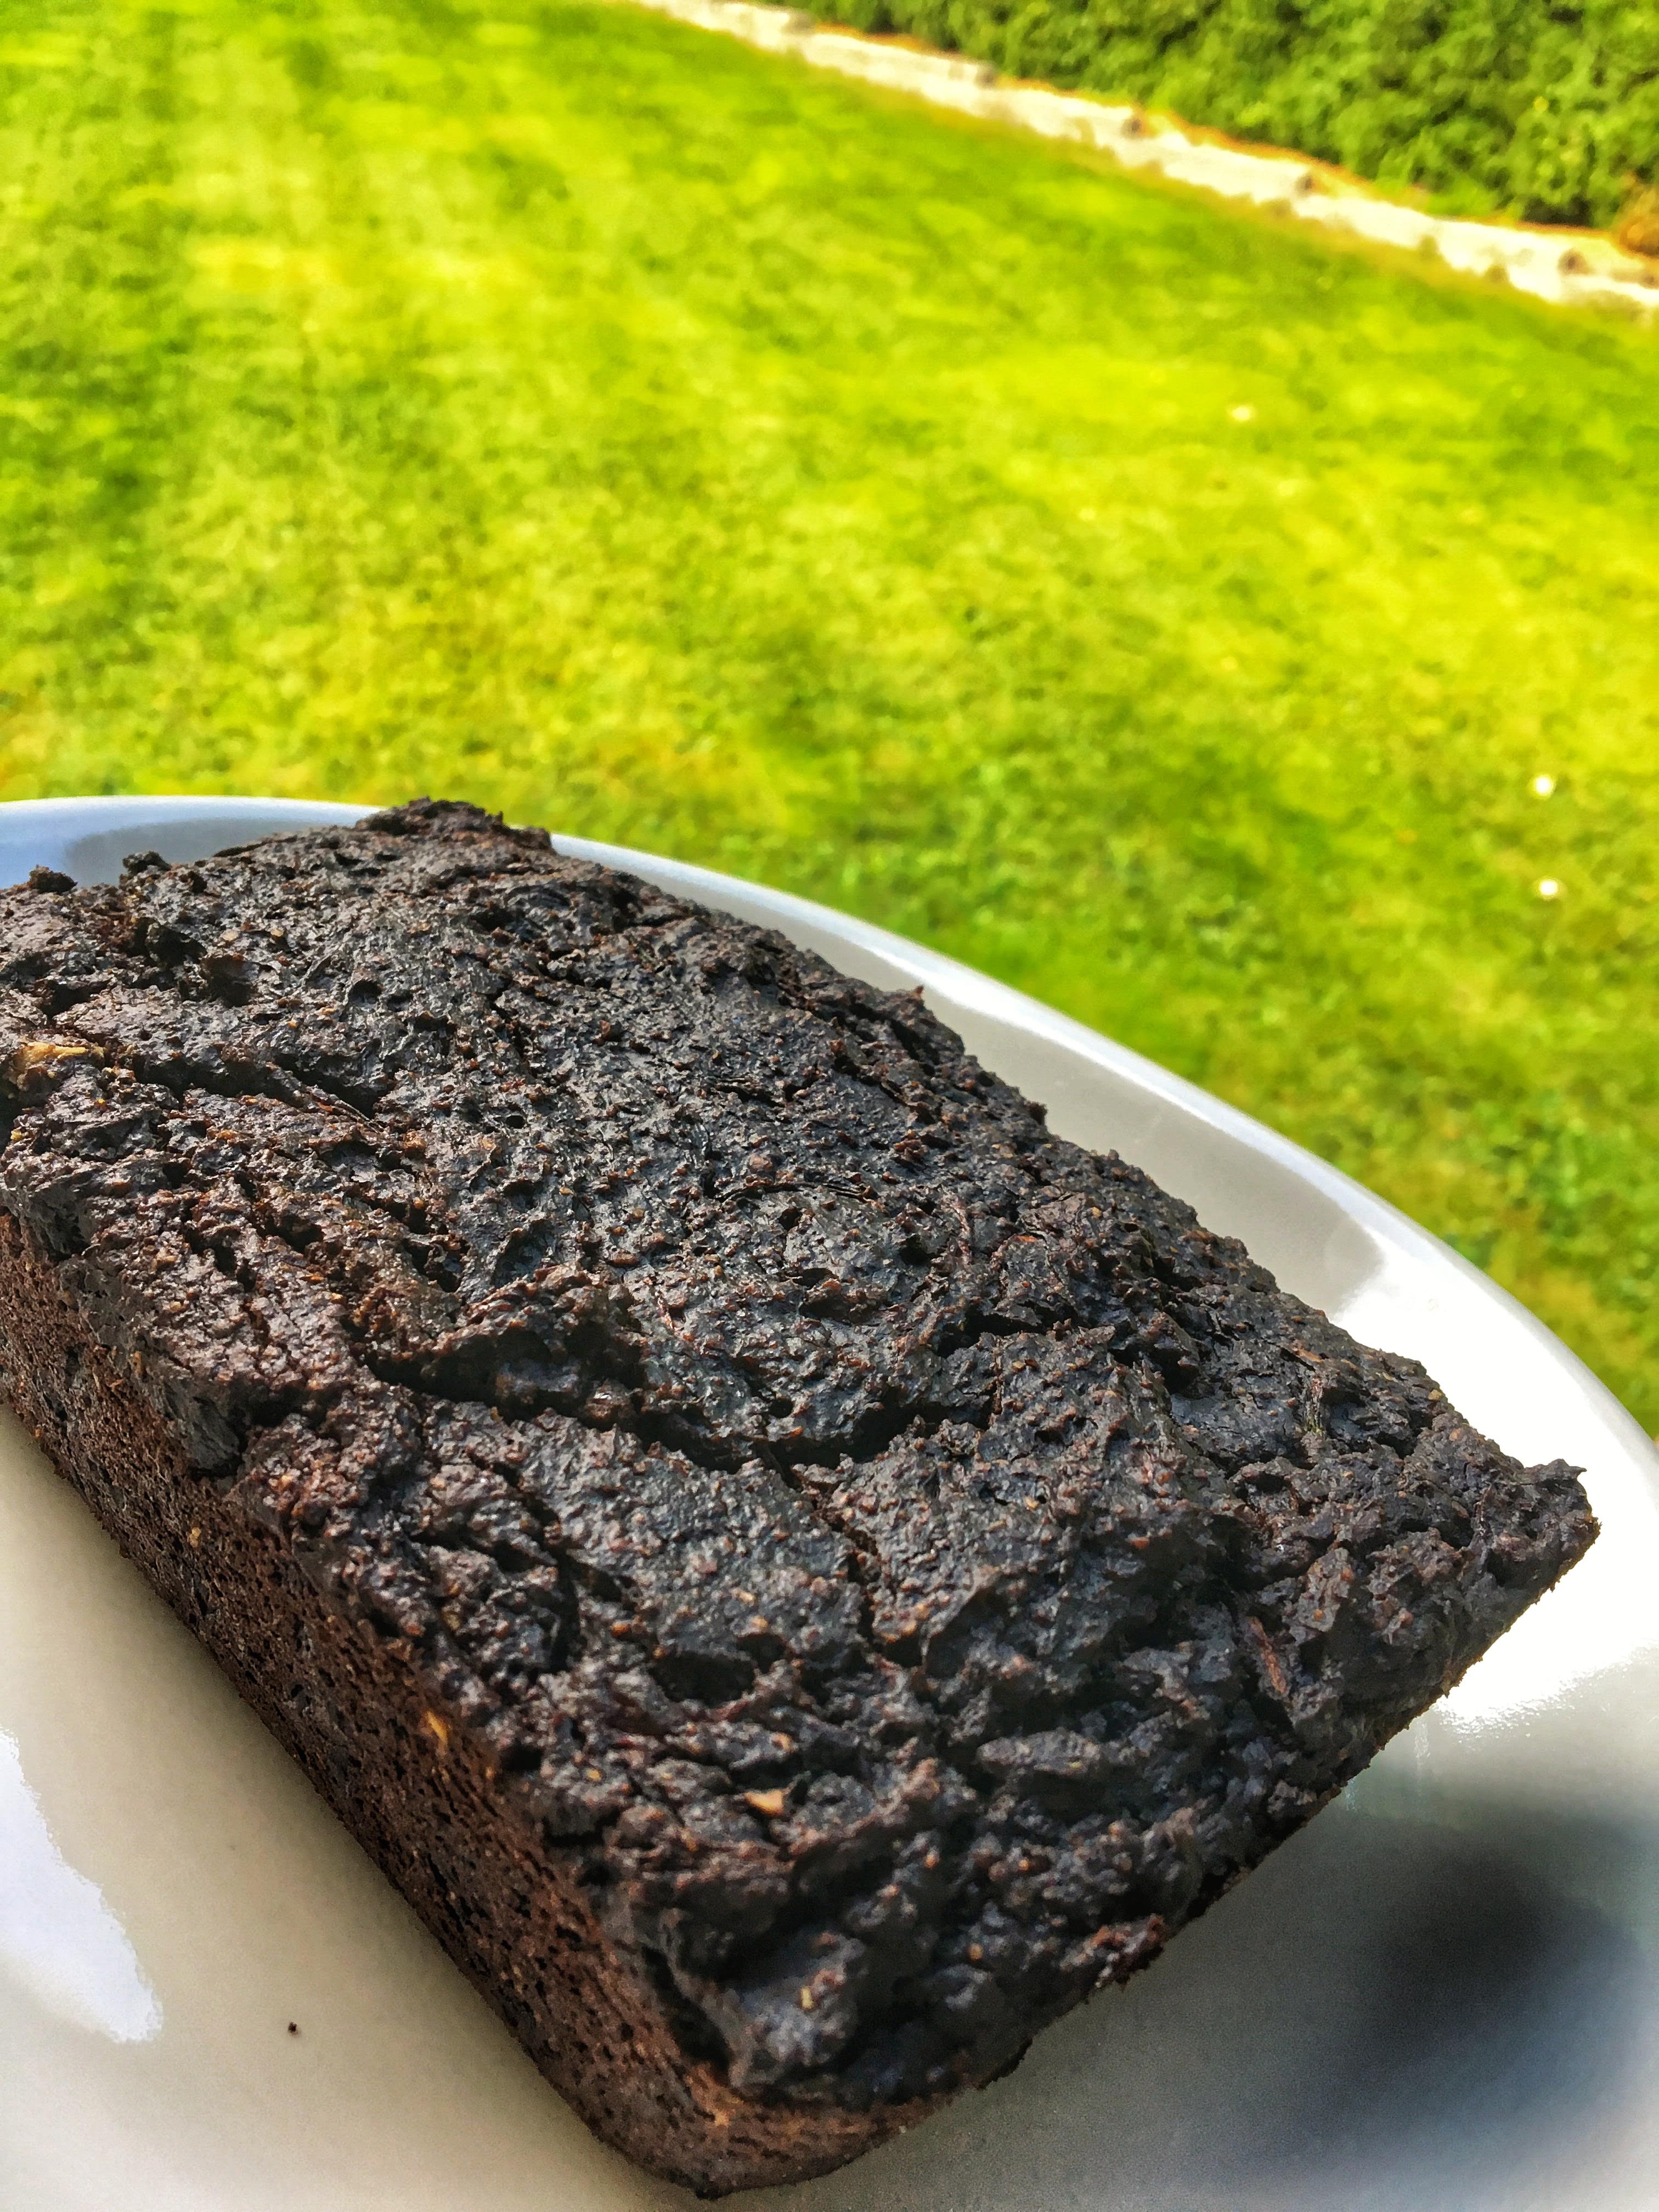
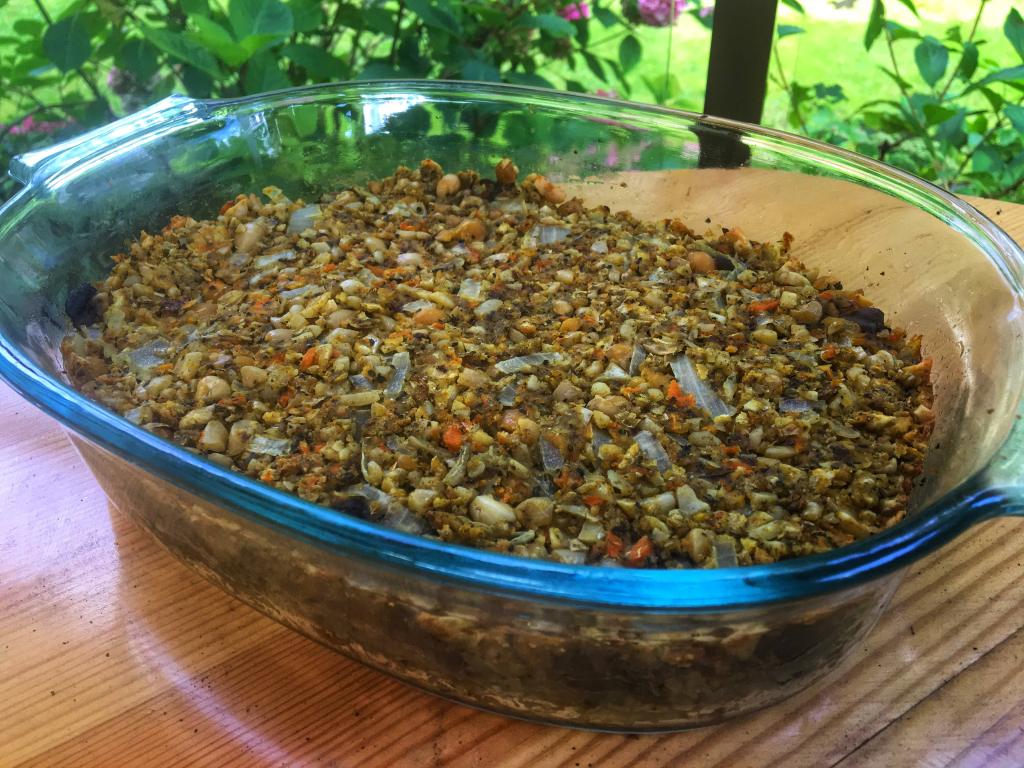
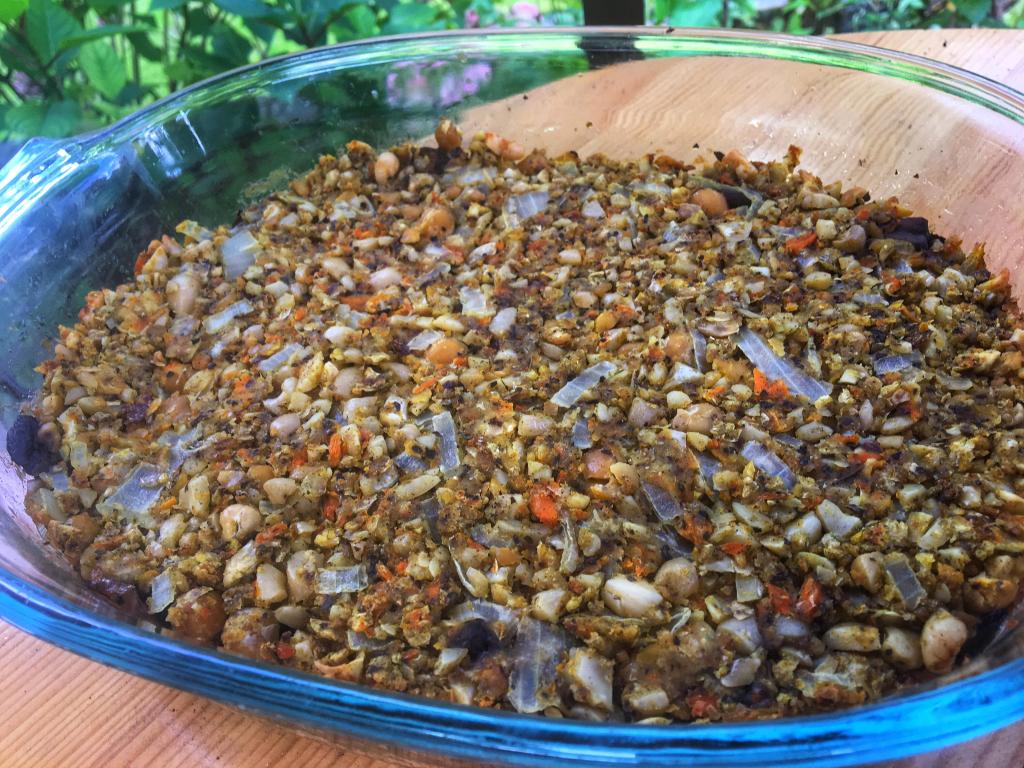
It might only be the start of September, but these delicious meatloaf and gravy recipes have me pumped for Thanksgiving! Even my brother, a true carnivore, was going for seconds, thirds and beyond! This meatloaf recipe is going to be a staple for me once the colder months hit.


The Meatloaf

  • 2 TBSP olive oil
  • 1/2 cup onion, diced
  • 2 cloves garlic, minced
  • 2 large carrots, peeled and roughly chopped
  • 3/4 cup cashew, soaked for 10 minutes
  • 1/2 cup breadcrumbs*
  • 1 can chickpeas, drained and rinsed
  • 1 TBSP fresh basil (or dried), chopped
  • 1 TBSP poultry seasoning**
  • 2 TBSP nutritional yeast
  • 1/2 tsp sea salt
  • 1.5 cup mushroom, sliced to 1″ thickness

*Pro tip: Never buy breadcrumbs! Making your own is so easy and a great way to use up that slightly stale bread, or “undesirable” end pieces. I had some leftover sourdough and it worked perfect for this recipe.

**Poultry seasoning, like other seasoning blends, does not actually contain meat. It’s just given this name because it’s commonly used to flavor chicken. Similar to breadcrumbs, another pro tip is to make your own. https://www.allrecipes.com/recipe/233909/homemade-poultry-seasoning/


  1. Preheat oven to 350 degrees Farenheit.
  2. Heat 1 TBSP of olive oil over medium heat, cook garlic and onion for 2 to 3 minutes or until translucent. Remove from heat.
  3. Bring medium pot of water to boil and add carrots. Simmer for 8 to 12 minutes or until soft. Remove from heat.
  4. Drain and rinse carrots with cold water. Mash with a potato masher or process until smooth with high speed blender.
  5. Grind cashews in a food processor and mix with breadcrumbs in a large bowl.
  6. Mash chickpeas with potato masher or use a food processor to mash – just enough so they are crumbly!
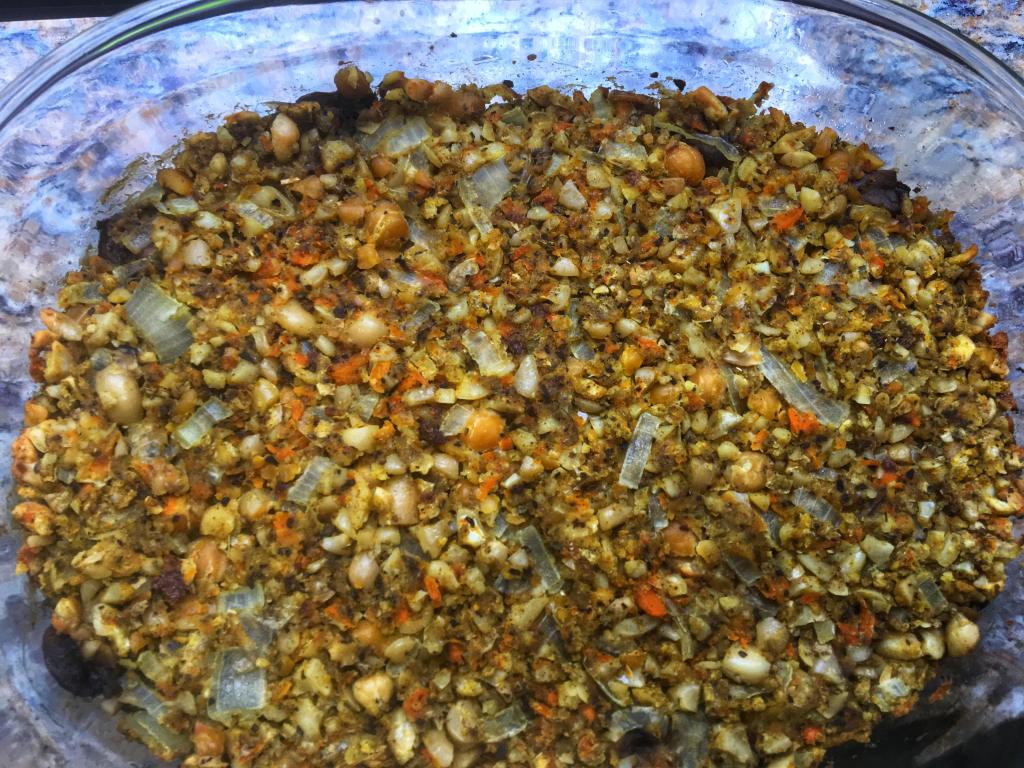
  7. Add garlic, onions, carrots, cashews, chickpeas, and seasonings to breadcrumb mixture. Give it a good mix!
  8. Heat remaining TBSP of olive oil over medium heat and cook mushrooms until soft.
  9. Grease a loaf pan and press in half of the chickpea mixture. Top with a layer of mushrooms and cover with the remaining chickpea mixture.
  10. Cover with aluminum foil and bake for 60 minutes. Remove from oven and let sit for 10 minutes to cool. Once cool flip pan upside down onto a cutting board or serving plate. Slice, top with a generous dollop of gravy, serve, and enjoy!

The Gravy

  • 1 TBSP olive oil
  • 1 small onion, diced
  • 1 cup fresh mushrooms, sliced
  • 2.5 TBSP vegan butter or margarine
  • 1/4 cup chickpea flour
  • 1 1/2 cup vegetable broth
  • 2 TBSP soy sauce
  • 1/4 tsp fresh ground pepper
  1. In a small pot, warm olive oil over medium heat. Add onions and mushrooms and cook for 3-5 minutes. Remove from heat and set aside.
  2. In the same small pot, whisk butter and flour for about 30 seconds. Add broth, soy sauce and pepper. Stir continuously to avoid lumps and until desired consistency is met.
  3. Return mushrooms and onions to the pot and use an emulsion blender to mix until there are no chunks – unless of course, you prefer chunks!

I can’t wait to see how many carnivores pick these one over the traditional stuffing and gravy at Thanksgiving!

Unfortunately, I forgot to take pictures of the gravy. Guess you guys will have to try it for yourselves 🙂

CHOCOLATE CHICKPEA BROWNIES (that don’t taste like beans)

A while back I read an article about the future of chickpeas, and let me tell you something, it’s looking up! So much so, you can essentially find every snack, sweet, main, and even drink made from this mighty bean. Have you tried a Chickpea Caesar? What about a Spicy Chickpea Margarita? As outrageous as these drinks sound, they exist. I have yet to dabble into the world of chickpea drinks, but when the opportunity presents itself, I’m in!

Hummus will always be my favourite way to consume chickpeas. However, some other favourites include roasted and used as croutons on salads, mashed into burgers or falaffels, added to slow-cooker stews and currys, and of course if I’m craving something sweet, edible cookie dough is always a good idea. It’s seriously incredible how many ways chickpeas can be incorporated into your cooking and baking!

These brownies are so rich and chewy. They’re high in protein and fiber, with no added sugar. Like all brownies, they are best served when warm and right out of the oven. And don’t worry, they don’t taste like beans!


Chocolate Chickpea Brownies (that don’t taste like beans!)

  • 1 1/2 cups canned chickpeas
  • 1/2 cup cocoa powder
  • 1/3 cup dried, pitted dates
  • 1/4 cup coconut oil
  • 1/4 cup almond milk (or other plant based milk)
  • 1 tsp vanilla extract
  • 1/2 tsp baking powder
  • 1/4 tsp salt
  • 1/4 cup vegan chocolate chips
  1. Preheat oven to 350 degrees Fahrenheit and lightly oil a 8×8-inch baking pan.
  2. In a food processor or high speed blender (I used my VitaMix) add all ingredients except the chocolate chips. Mix until well combined.
  3. Spread mixture into pan and top with chocolate chips.
  4. Bake for 20-24 minutes.
  5. Transfer to cooling rack and enjoy! Store extras in an air tight container in fridge.

BANANA BREAD PROTEIN GRANOLA

Another week and another granola recipe. I am going through the biggest parfait phase right now. My go to breakfast has been an obnoxious amount of fresh berries (either blueberries or blackberries), a heaping of coconut yogurt with chia seeds, a dash of fruit spread, and a sprinkling (okay, more of a dumping) of homemade granola. The combination of juicy berries, silky yogurt and crunchy granola is seriously what dreams are made of. Has anyone seen the meme, “I love sleep so much because it is like a time machine to breakfast”? That couldn’t be a more accurate representation of my current feelings.

Feeling inspired by some beautifully speckled bananas, I decided to give my Sarah’s Day inspired protein granola from a couple weeks ago, a potassium burst. This granola tastes like a slice of banana bread with peanut butter on top. It makes such a yummy topping to smoothie bowls, yogurt, or just on its own.

For those interested, this recipe is vegan, free of added sugars and gluten free! Who knew healthy eating could be so delicious. 🙂


Banana Bread Protein Granola

  • 1 1/2 cups oats
  • 1/2 cup dried coconut
  • 1/4 cup pumpkin seeds
  • 1 scoop (around 1/3 cup) plant based vanilla protein powder
  • 2 TBSP ground flax
  • 2 medium ripe bananas, mashed
  • 1/3 cup nut butter
  • dash of cinnamon
  1. Preheat oven to 320°F.
  2. Add dry ingredients to a large bowl and give it a good mix.
  3. To a medium bowl combine wet ingredients and stir until well combined.
  4. Add the wet mixture to the dry. Use your hands to mix the granola together until all the dry ingredients stick together.
  5. Transfer granola to a lined tray, breaking it up into smaller chunks. Make sure it is spread evenly on the tray.
  6. Bake the granola in oven for 35-40 minutes or until golden. Give it a good mix at 10 minute intervals.
  7. Allow to cool completely.
  8. For an added bonus, toss in vegan mini chocolate chips or dark chocolate, chopped into smaller chunks.

This simple granola turned out so delicious. I’m thrilled to be able to eat it on top of my coconut yogurt or smoothie bowls!

Not food related but I’m in the market for a new camera. Does anyone have any suggestions? Would love to step up my food photography game.

DOUBLE CHOCOLATE ZUCCHINI LOAF

This chocolate zucchini loaf is so rich with chocolate. It is the perfect pair for morning espresso.

Zucchini season is in full force in Vancouver, British Columbia. My Mom’s garden is seriously exploding with zucchini. Yesterday she picked one the size on my femur – zero exaggeration!

My go to zucchini recipes involve light steaming into zoodles with a pumpkin seed pesto or fresh tomato marinara sauce. However, when your zucchinis are the size of the biggest bone in the human body, spiraling is a bit of a challenge. After a quick search on Pinterest, I decided to try my luck with a double chocolate zucchini loaf – chocolate goes with everything, right?

This double chocolate zucchini loaf is vegan, sugar-free, and can be made gluten-free. It super moist, rich, and full of healthy ingredients. No guilt to be had here!


Double Chocolate Zucchini Loaf

  • 1 cup shredded zucchini
  • 1 flax egg (3 TBSP water + 1 TBSP ground flax)*
  • 1/2 cup plant milk (I used macadamia milk)
  • 1/2 cup nut butter (I used crunchy peanut butter)
  • 1/3 cup maple syrup
  • 1 tsp apple cider vinegar
  • 1 tsp vanilla extract
  • 1 cup oat flour**
  • 1/2 cup cocoa powder
  • 1 tsp baking soda
  • 1/4 tsp salt
  • 1/4 cup vegan chocolate chips

*I have read so many recipes that call for a flax egg. Some tell you to use warm water, others tell you to use cold water and to put in a fridge. I have tried all the combinations and it makes no difference. Just add water to the flax and let it sit until thick. The consistency should resemble that of liquid egg whites.

**I have never bought oat flour before. It is so easy to make yourself! Get 1 cup (plus a little extra) of oats and blend until they reach a fine consistency. Remeasure and you are good to go!

  1. Preheat oven to 350 degrees Fahrenheit and line a loaf pan with parchment paper or get a paper towel and coat it with coconut oil.
  2. Make a flax egg by combining ground flax to water, using a 1:3 ratio. Give it a quick stir and put aside for 5 minutes, or until thick.
  3. With a tea towel or cheese cloth, press out extra water from shredded zucchini.
  4. In a large bowl combine zucchini, plant milk, nut butter, flax egg, maple syrup, apple cider vinegar, and vanilla. Mix until well combined.
  5. Add all remaining dry ingredients, except chocolate chips. Again, mix until well combined. Lightly fold in chocolate chips.
  6. Pour batter into loaf pan. It should be fairly thick. Make sure the batter evenly coats the pan. Use a spatula to give the loaf a nice and smooth top.
  7. Bake for 50-60 minutes or until a tooth pick comes out just about clean! Trust me, the wait is worth it.
  8. Allow to cool for 10 or so minutes before serving. Leftovers should be kept in a sealed container in the fridge.

SARAH’S DAY INSPIRED PROTEIN GRANOLA

Inspired by my favourite Sezzy, Sarah’s Day (aka Australian queen of all things health, fitness and holistic wellness), I decided to have a spin at protein granola. For the past year or so, I have been on the hunt for the perfect granola recipe. One with the perfect ratio of sweet to salty, crunch to chew, and deliciousness to deliciousness. While this one isn’t at the level of Glory Juice’s granola, it comes very close! On a side note, if you’re in Vancouver go to Glory Juice and try their Glory Granola. It is seriously to die for. Light, crunchy, flaky and perfectly sweet, I always find myself craving this treat (Unintentional rhyming). Link below: https://gloryjuiceco.com/collections/organic-food/products/glory-granola


My take on Sarah’s granola gluten-free, vegan, hormone balancing and energy boosting. If you haven’t heard of maca before, it is a superfood derived from a root vegetable. Usually in a powder form, this powerhouse has a tremendous amount of health benefits, including external stress response, balances hormones (both male and female), and it’s a natural stimulant. It has a nutty flavor and I particularly love it paired with vanilla and a pinch of sea salt. When combined, you get the perfect taste of salted caramel. Try it in a post-workout smoothie with frozen banana, almond milk, vanilla protein powder, cinnamon, and a dash of salt.

This week I am having the granola on top of plain coconut yogurt, flavored with homemade jam and freshly picked blueberries. I’m ready to time travel to breakfast!

Sarah’s Day Inspired Protein Granola

  • 1.5 cups rolled oats (look for gluten-free variety)
  • 1/2 cup pepitas (pumpkin seeds)*
  • 1/2 cup sunflower seeds*
  • 1/2 cup shredded coconut
  • 2 TBSP Vega Sport Vanilla protein powder
  • I TBSP maca powder
  • 1 tsp cinnamon
  • 1/4 tsp salt
  • 1/2 cup maple syrup or liquid sweetner of choice

*Feel free to substitute these seeds for 1 cup (in total) of your favourite nut and seed mix. I always have pepitas and sunflower seeds on hand so that’s what went into the granola today. However, I think it would be super tasty with chopped walnuts or almonds!

  1. Preheat oven to 160*C (320 degrees Fahrenheit). Line a baking tray with non-stick baking paper.
  2. Combine dry ingredients into a bowl and mix well.
  3. Pour in the maple syrup and stir until all ingredients are well coated.
  4. Spread onto the baking tray in an even layer and bake for 30 minutes or until golden. Give it a stir at the halfway mark.
  5. Cool for 10 minutes before giving the granola another stir. Cool completely and transfer into an air-tight container. Store at room temperature for up to 1 month but I guarantee it won’t last this long!

VEGAN BIBIMBAP BUDDHA BOWL

This vegan bibimbap recipe is a take on the classic Korean dish. When in South Korea, I had the best bibimbaps. I was amazed at how simple yet flavorful they were. The most surprising thing was that a bibimbap is not hard to make at all. It typically consists of several raw and cooked elements brought together with a sweet and spicy Gochujang sauce made with Korean chilli peppers.

So much Kimchi! This was at the Gwangjang Market in Seoul. Kimchi and rice is the Korean version of bread and butter. If you have both, you have a meal. Kimchi has been around for thousands of years. Before when vegetables could not be kept for a long time, preserving them with salt prolonged their storage life especially during winter, through the fermentation process. Today, you will find a side of kimchi with all traditional Korean meals. Not only does it taste delicious, the fermantation makes it super good for digestion.
The middle of the market was filled with different booths to sit at for lunch. Many of them had bibimbap stations. Sweet Korean grandparents would fill your stainless steel bowl with rice and then you had your choice with toppings.
This is what mine ended up looking at. Trust me, it tasted so much better than it looks. I am actually dreaming of this right now.
I could seriously eat this everyday!

Okay, so my take on bibimbap is nowhere as good as the ones in South Korea. However, these bowls do not lack in flavor and with all the fresh veggies, they are overflowing with nutrients. I am very excited for my lunches this week.


VEGAN BIBIMBAP BUDDHA BOWL

1 cup brown rice
7 ounces shiitake mushrooms, stemmed and sliced
2 cloves garlic, minced
1 tsp olive oil
1 block extra firm tofu, pressed
1/2 tsp korean red pepper flakes
1/2 large cabbage, washed and shredded
1 bundle curly kale, stemmed and massaged
2 TBSP sesame seeds, toasted
3 TBSP rice wine vinegar
3 TBSP olive oil
1/2 tsp salt
3 large carrots, grated
1/2 large cucumber, grated
kimchi *make sure it’s vegan friendly!
scallions or green onion


  1. Prepare rice according to package. Or use your rice cooker (like me). Allow to cool.
  2. Heat 1 tsp olive oil in the small pan on medium-high heat. Add the garlic and mushrooms and cook for 2-3 minutes until the mushrooms has wilted down and are nice and soft. Remove from pan and set aside.
  3. Cut pressed tofu into small cubes and gently toss with korean red pepper flakes. Using the same pan as before, add the tofu and cook for 2-3 minutes on each side until golden brown and crispy. Remove from pan.
  4. Massage your kale. Do not neglect this step. Massaging the kale helps to break down the tough cell structure and gives the kale a softer texture and a gentler flavor.
  5. Gently toss shredded cabbage and kale together.
  6. Grind the roasted sesame seeds in a mortar until fine. In a bowl mix together sesame seeds, rice wine vinegar, olive oil and salt.
  7. Massage dressing into cabbage and kale mixture. Make sure every piece has some dressing on it.
  8. Time to assemble the buddha bowls. Add a generous amount of kale/cabbage salad to the bottom of your bowls, then top with rice, crispy tofu, sauteed mushrooms, shredded carrots, cucumber, and kimchi. Top it with some sliced scallions or green onion and enjoy!